Rustic Italian Ciabatta
frompantry.bakinggreatbread.compantry.bakinggreatbread.com/recipes/rustic-italian-ciabatta
A classic Italian ciabatta built on a poolish. High hydration, minimal handling, and an open honeycomb crumb that'll make you fall in love with bread all over again.
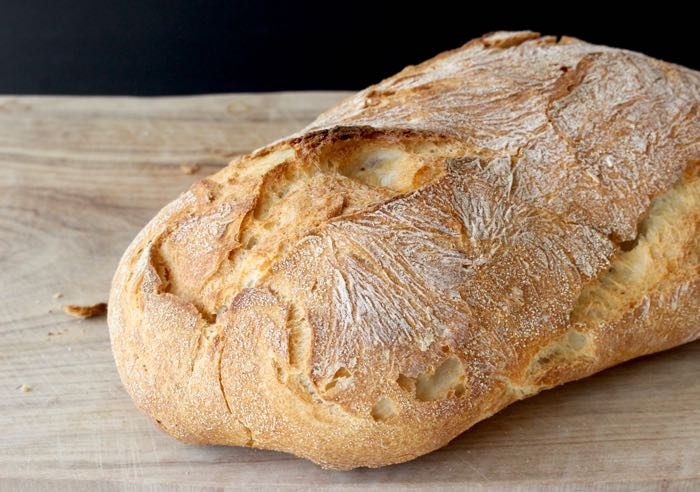
Ingredients
Instructions
Make the Poolish
In a medium bowl, whisk together the flour, water, and the tiny pinch of instant yeast until you have a thick, pancake-batter consistency. No dry flour should remain.
Cover the bowl with plastic wrap or a tight-fitting lid and leave at room temperature (68-72F / 20-22C) for 12-16 hours. It's ready when the surface is covered in bubbles and it's started to pull away from the sides of the bowl.
Mix the Final Dough
In a large bowl, add the ripe poolish and the lukewarm water. Whisk or stir to break up the poolish into the water. It'll look like a cloudy, bubbly soup.
Add the bread flour and instant yeast. Hold back the salt and olive oil for now. Mix with a dough whisk, wooden spoon, or wet hand until no dry flour remains. It'll be shaggy and sticky.
Cover the bowl and let it rest 20-30 minutes. This is a fermentolyse. The flour fully hydrates and the gluten starts organizing itself before we add salt.
Sprinkle the salt over the dough and drizzle the olive oil on top. With a wet hand, pinch and fold the salt and oil into the dough until fully incorporated. It'll feel slack and weird. That's normal.
Bulk Fermentation with Coil Folds
With wet hands, reach under the middle of the dough, lift it up gently, and let it fold under itself. Rotate the bowl 90 degrees and repeat. Do this 4 times total so you've worked all four sides. Cover and rest 30 minutes.
Same technique as the first fold. If you're adding inclusions (olives, cheese, roasted garlic, herbs), this is the moment. Scatter them across the dough before you start the fold, then let each fold wrap around and redistribute them. See the Inclusions Guide below for prep tips and amounts. Cover and rest 30 minutes.
By now the dough should be holding its shape and have visible air bubbles. Cover and rest 30 minutes.
Final fold. The dough should feel alive, airy, and smooth. After this fold, let it finish bulk for another 60-90 minutes, covered.
Divide and Cut (Not Shape)
Generously flour a clean work surface with bread flour (or a 50/50 mix of bread flour and semolina for extra texture on the bottom crust). Be more generous than you think.
Gently scrape the dough out onto the floured surface. Don't deflate it. It should flop out as a rough rectangle. Dust the top with more flour.
With floured hands, gently stretch the dough into a rough rectangle about 10x8 inches. Don't press hard. You want to keep all those bubbles alive.
With a bench scraper or sharp knife, cut the rectangle down the middle to make two long slipper-shaped loaves. That's it. No shaping, no tucking, no sealing. The rough edges are a feature.
Carefully lift each loaf onto a piece of parchment paper. Some bakers flip them seam-side up (bottom of the dough becomes the top) so the original bottom shows the floured, more rustic surface. Your call.
Final Proof
Cover the loaves loosely with a floured cloth or plastic wrap. Let them proof at room temperature for 30-45 minutes. They should look puffy and relaxed but not flat.
While the loaves proof, preheat your oven to 475F (245C) with a baking stone or steel on the middle rack and a cast iron pan on the bottom rack for steam. Preheat for at least 45 minutes.
Nutrition
- Serving Size
- 1 slice (50g)
- Calories
- 125
- Carbohydrate Content
- 24g
- Protein Content
- 4g
- Fat Content
- 1.5g
- Sodium Content
- 260mg
- Fiber Content
- 1g