The Most Flavorful Vanilla Cake Recipe
fromofbatteranddough.comofbatteranddough.com/the-best-vanilla-cake-recipe
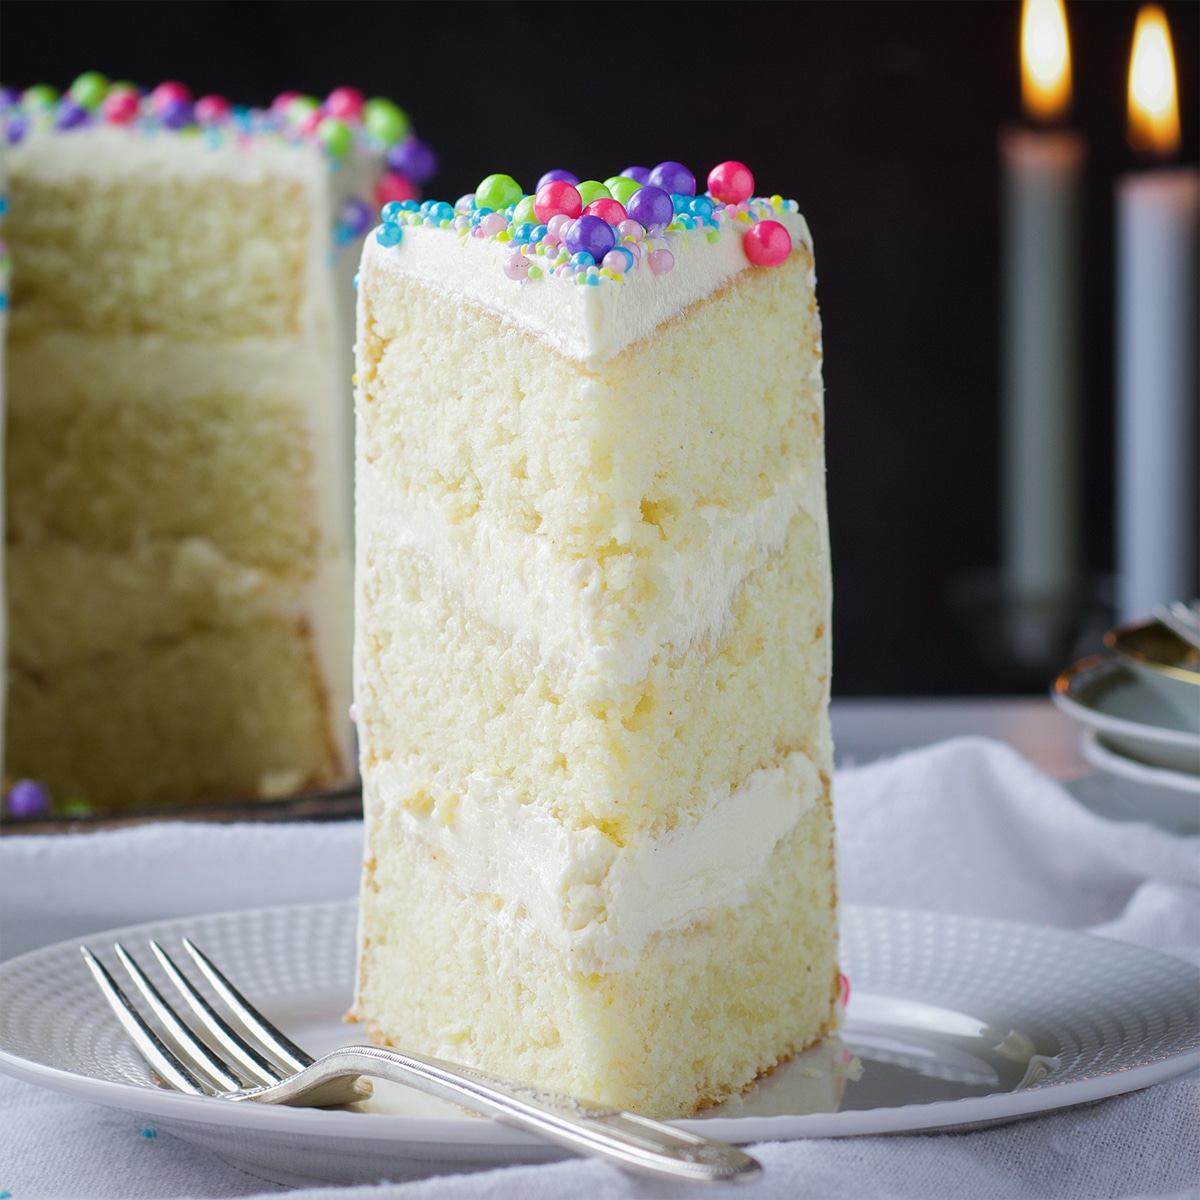
If you’re looking for a go-to vanilla cake recipe (or vanilla cupcake recipe) for wedding cakes, birthday cakes, shower cakes, anniversary cakes, or just because cakes, that will have everyone who tastes it coming back for more, this is it.
Ingredients
Instructions
Heat oven to 325 degrees F (176 degrees C). Grease and flour three or four 8 or 9-inch round cake pans and line the bottoms with a round of parchment paper. (Here's how to grease, flour and line pans with parchment so the cake won't stick to the pan.)
Separate the 4 whole eggs, placing the 4 yolks in a small bowl and the 4 whites in a separate medium size bowl, or the bowl of a stand mixer.
Add the 3 additional egg whites to the other 4 for a total of 7 egg whites. Using an electric mixer, beat the egg whites until frothy. If using a stand mixer, use the whisk attachment to beat the egg whites.
Slowly pour in ¼ cup of the sugar, beating continuously as you pour. Continue to beat until the meringue is glossy and stiff peaks form when you lift the whisk from the beaten egg whites. Set aside. If using a stand mixer, scrape the beaten egg whites out of the mixer's bowl into a seperate bowl.
Using an electric hand held mixer, or a stand mixer fitted with the paddle attachment, cream the butter, shortening, and remaining 2 cups of sugar until light and fluffy, about 5 minutes. Stop the mixer to scrape down the sides of the bowl a time or two. Beat in the vanilla and lemon extracts.
Add 2 of the egg yolks and beat until incorporated, about 20 seconds. Scrape down the sides of the bowl. Add the remaining 2 egg yolks, beat for about 20 seconds, until fully incorporated. Scrape down the sides of the bowl.
Add the flour, baking powder, salt and nutmeg to a large bowl and mix with a wire whisk just to combine.
Beating on low speed, add the flour mixture, alternating with the buttermilk, in 3 additions, beginning and ending with the flour: ⅓ of the flour, ½ of the buttermilk, ⅓ of the flour, ½ of the buttermilk, ⅓ of the flour. With each addition, beat on low speed, just long enough to incorporate. Scrape down the sides of the bowl as necessary.
With a rubber spatula, gently fold the beaten egg whites into the batter just until distributed. You should still see some streaks of egg white throughout the batter. Do not over mix.
Divide the batter evenly between the prepared pans. If baking 3 layers: bake for 40-50 min. If baking four layers, bake for 30-35 minutes. If baking cupcakes, bake for 20-28 minutes.
When done, the cakes will be golden brown and pulling away from the sides of the pan. To check for doneness, stick a toothpick into the center of one of the layers. Remove the toothpick and look for signs of raw batter. If only cake crumbs stick to the toothpick, the cake is done. You can also scoop a tiny amount of cake from the center of one of the layers to check for doneness. (You’ll be covering the cake with frosting anyway.)
Let the cakes cool on wire racks for 5 minutes in the pan, then gently turn them out of the pans onto the wire racks to cool completely. If you don’t plan on frosting the layers immediately, wrap each tightly with plastic wrap.
Notes
- To make a substitution for cake flour, replace 2 tablespoons per cup of all-purpose flour with cornstarch. So, for this recipe, add all the flour to a bowl, remove 6 tablespoons, and then add 6 tablespoons of cornstarch. Whisk well to combine.
- It’s important to NOT allow the beaten egg whites to sit around for a long time before folding them into the batter or they will lose their volume. To ensure the time between beating and folding is as short as possible, get all the ingredients measured and prepped before you begin making the batter. Alternatively, you can use a hand mixer to whip the egg whites right before folding them into the batter.
- This recipe will make between 24 and 32 cupcakes, depending on the kind of paper cupcake liners you use and how much batter you use per cupcake. I love using the wave cupcake liners linked below, but their wavy nature means you'll use less batter per cupcake than traditional cupcake liners, giving you more, slightly smaller, cupcakes.